Définir Un Model De Page De Garde Dans Word 2016

Okay, so picture this: me, scrambling to finish a report five minutes before the deadline. The content? Solid gold. The formatting? A disaster zone. And the cover page? Let’s just say it looked like a ransom note written by a toddler. Seriously, Times New Roman at size 72…not a good look. That's when I thought: there HAS to be a better way! Hence, this article.
We're diving into the wonderful world of cover page templates in Word 2016. Because let's face it, first impressions matter, even for documents!
Pourquoi s'embêter avec un modèle de page de garde?
Great question! Why bother, right? Well, think of your cover page as the handshake of your document. It's the first thing anyone sees. A well-designed cover page makes you look professional, organized, and like you actually put some effort in. And who doesn’t want to project that image? (I know I do!) Also, consistently using the same cover page for your company’s documents makes you look more credible. Imagine if every report from, say, the UN had a different look?! Total chaos.
Must Read
Plus, let's be honest, sometimes the hardest part of a document is just getting started. A template gives you a framework, a jumping-off point, something to build upon. It's like having a blueprint for your report's grand entrance.
Comment créer son modèle de page de garde personnalisé dans Word 2016 (sans devenir fou)
Alright, buckle up! Here’s the lowdown, step-by-step. Don't worry, it's easier than parallel parking.

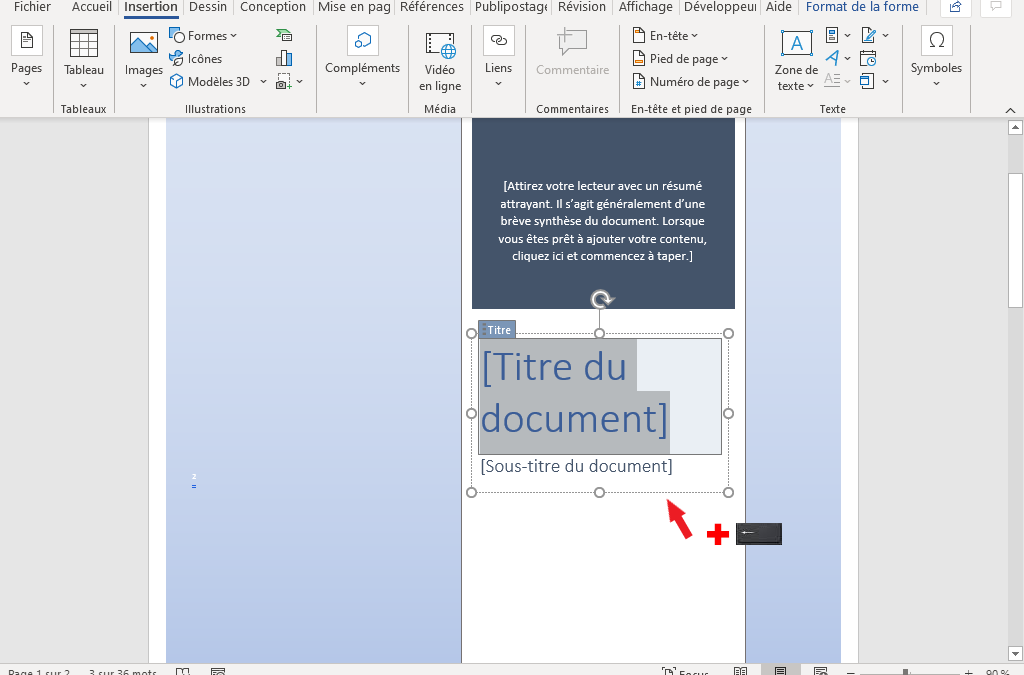
1. Choisir un modèle existant (la base): Word 2016 is your friend here. Go to the "Insert" tab, then click on "Cover Page." Behold! A glorious selection of pre-designed templates appears. Pick one that roughly matches the vibe you're going for. Think of it as your starting point, like buying a house that needs some reno – good bones are key.
2. Personnalisation, bébé! (l'âme): Now for the fun part: tweaking! Change the colors, fonts, images, whatever floats your boat. Word allows you to click around and edit almost any element on those pages. Don't be afraid to experiment! Pro tip: Keep your company’s brand colors handy. This small touch brings professionalism to a whole new level.
![[Docx] Un Modèle Gratuit De Page De Garde Word 2025 LArt de la Première](https://4.bp.blogspot.com/-qsFTsOmjK3g/VF_cZtdd15I/AAAAAAAACJ4/czP2AEXuh18/w1200-h630-p-k-no-nu/modele+page+de+garde+gratuit+word.PNG)
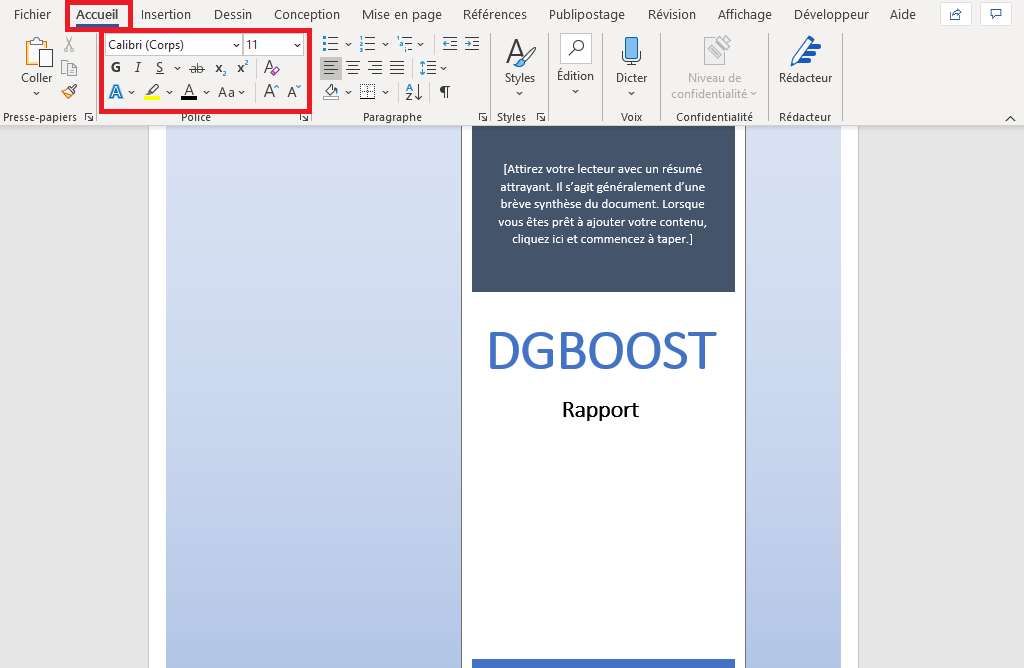
3. Ajouter vos informations (la chair): Replace the placeholder text with your document's title, your name (or your team’s!), the date, and any other relevant info. Make sure it's all clear, concise, and easy to read. Is this obvious? Yes, but you’d be surprised how many people mess it up!
4. Sauvegarder le tout comme modèle (l'immortalité): Here's the magic step. Once you're happy with your masterpiece, go to "File" -> "Save As Template". Give it a descriptive name (e.g., "MyCompany Report Cover Page"). Word will automatically save it in the correct location so it will appear in the Cover Page gallery! You have immortalized your magnificent cover page!

5. Le test ultime (la validation): Now, close Word, re-open it, and go to "Insert" -> "Cover Page". Your shiny new template should be there, ready to be used again and again. Pat yourself on the back. You did it!
See? Not so scary after all. Creating a killer cover page template in Word 2016 is totally achievable. Now go forth and impress the world (or at least your boss) with your impeccably designed documents!
PS: Don’t forget to update the template periodically. Design trends change, and you want to keep your cover page looking fresh and modern. It’s like giving your document a stylish haircut!