Insérer Une Page De Garde Externe Sur Word

Okay, story time! Remember that time I had to submit my thesis, like, yesterday? I was frantically trying to format it, make it look all fancy and professional, when I realised… the cover page! Completely forgot about it. Panic mode: activated. I spent a good half hour wrestling with Word, trying to add a cover page that wasn't one of those pre-made, frankly hideous, options. It was a disaster. Moral of the story? Learn how to insert an external cover page, folks, and save yourselves the future headache!
So, what are we talking about today? We’re diving into the wonderful (and sometimes terrifying) world of Microsoft Word and how to insert an external cover page. Yes, external! Forget the built-in templates – we're aiming for something unique, something you designed (or downloaded, no judgment here!).
Why bother with an external cover page, you ask? Well, think of it like this: those pre-made cover pages are like wearing the same outfit as everyone else at a party. Sure, it's easy, but where's the fun? And more importantly, where’s the individuality? Using your own cover page lets you truly customize your document and make a fantastic first impression.
Must Read
Getting Started: Your Cover Page File
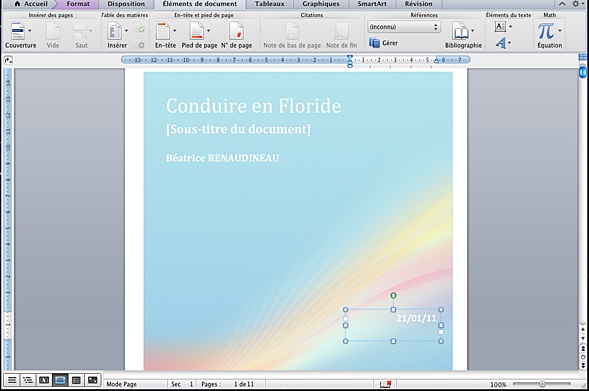
First things first: you need a cover page file! This could be a Word document, a PDF, even an image file (JPEG, PNG, etc.). The beauty of this method is the flexibility. Did you create a stunning design in Photoshop? Use it! Found a perfect template online? Download it! Just make sure it's the right size and resolution for your document.
Side note: Pay attention to the dimensions! You don't want your cover page to be all stretched and pixelated, trust me. Nobody wants that. Think crisp, clean, and professional.

The "Insert" Method: A Classic Approach
Now, for the main event! Let's get that cover page inserted. There are a few ways to skin this cat, but here's a reliable one:
- Open your Word document (the one needing the awesome cover page, duh!).
- Go to the beginning of your document. This is crucial. Word will insert the content before the current cursor position.
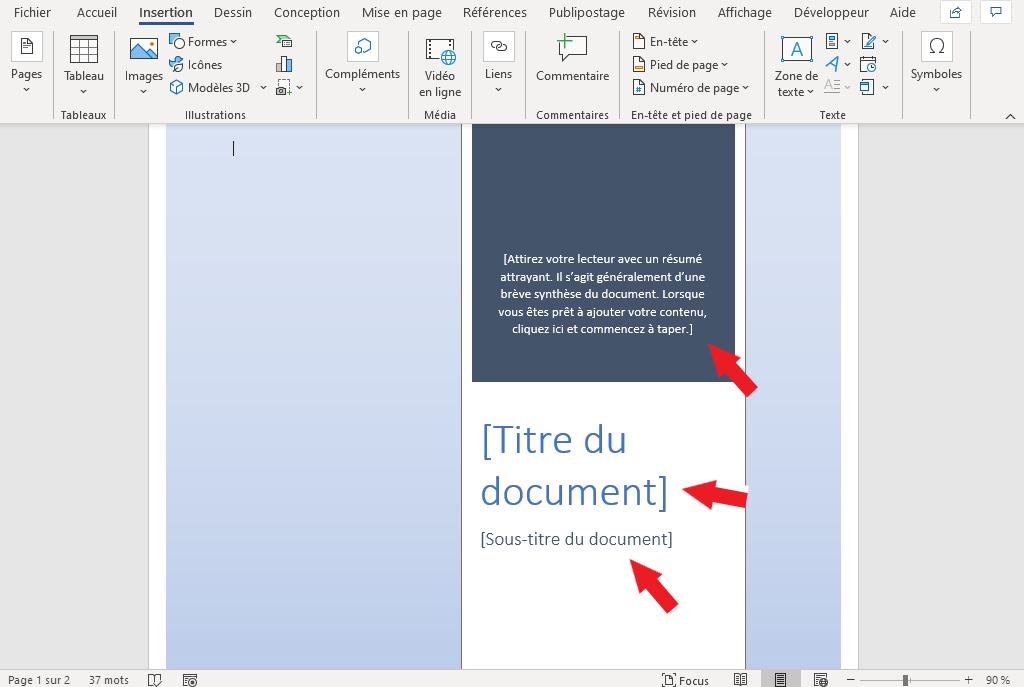
- Click on the "Insert" tab in the Word ribbon.
- Look for the "Text" group. You might see a tiny little icon that looks like a document with some text in it. That's your target!
- Click the dropdown arrow under the “Object” button (or sometimes it's labelled as "Text from File").
- Choose "Text from File…". (If you're inserting a PDF, sometimes "Object…" is a better choice).
- Navigate to your cover page file and select it.
- Click "Insert". Boom! Your cover page should magically appear.
Ta-da! Hopefully, your cover page is now sitting pretty at the front of your document. If it's not perfectly aligned or the formatting is a little wonky, don't panic. We'll tweak it in a bit.

Dealing with Formatting Quirks
Okay, let's be real. Sometimes Word gets a little… temperamental. You might find that your cover page has messed up the page numbering or added an extra blank page. Don't worry, we can fix this!
First, check your section breaks. Word uses section breaks to separate different parts of your document, and sometimes they can cause formatting issues. Go to the "Layout" tab (or "Page Layout" depending on your Word version) and look for the "Breaks" button. Experiment with different types of section breaks (Next Page, Continuous) to see what works best for your document.

Pro tip: Show hidden characters! Press Ctrl+Shift+8 (or Cmd+Shift+8 on a Mac) to reveal formatting marks like paragraph symbols and section breaks. This can help you identify and delete any unwanted breaks.
Finally, remember to double-check your page numbering. You might need to adjust the starting page number in the header or footer settings to ensure everything is in order. You can usually find this under "Insert" -> "Header & Footer" -> "Page Number".
And that's it! You’ve successfully inserted an external cover page into your Word document. Now go forth and impress the world with your stunning designs!